
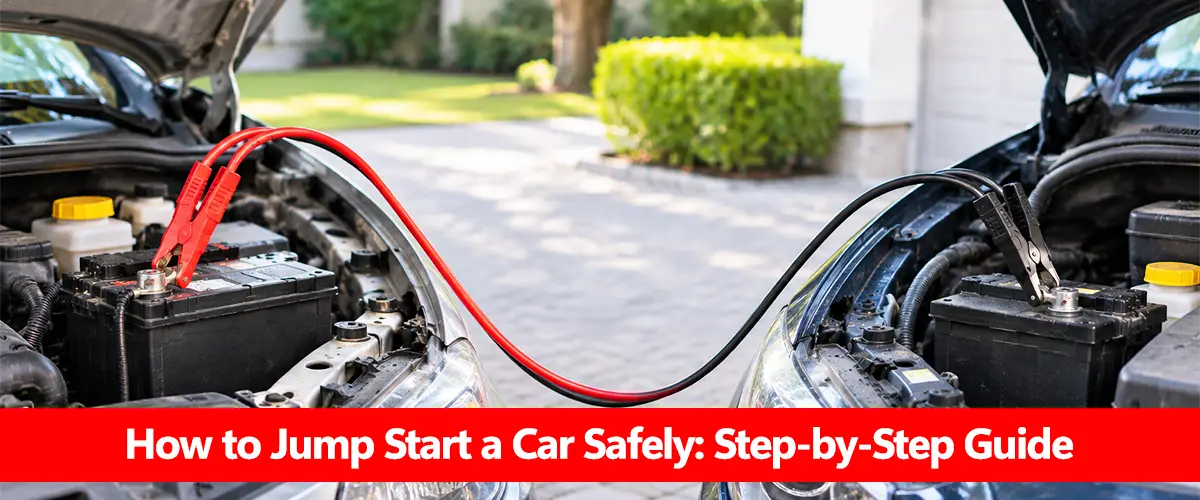
Learning how to jump start car safely means using a compatible 12V power source, connecting jumper cables in the correct order and following your vehicle manufacturer’s instructions. A jump-start supplies temporary electrical assistance to a discharged car battery, allowing the starter motor to turn the engine.
For most conventional petrol and diesel cars, jump-starting can be done using another compatible vehicle or a portable battery booster. However, incorrect connections can cause sparks, damage vehicle electronics or create battery-related hazards. Before attempting the procedure, check the battery condition and confirm that jump-starting is permitted for your vehicle.
This guide explains the safe process for typical 12V negative-ground vehicles. For wider battery maintenance information, visit our car battery guide.
What Do You Need to Jump Start a Car?
You need a suitable power source and equipment designed for automotive jump-starting.
The most common method uses a working vehicle with a compatible 12V electrical system and a set of heavy-duty jumper cables. A portable jump starter offers an alternative when another vehicle is unavailable.
| Equipment | Purpose |
| Jumper cables | Transfer electrical current between compatible vehicles |
| Working donor vehicle | Provides starting assistance |
| Portable jump starter | Provides starting assistance without another car |
| Vehicle owner’s manual | Identifies approved connection points and precautions |
| Safety glasses and gloves | Help reduce exposure to accidental battery hazards |
Check jumper cables for damaged insulation, loose clamps or corrosion before use. Cables must be rated for the intended automotive application. The battery supplies high current to the starter motor, which is why car battery CCA is an important starting-performance specification.
When Should You Not Jump Start a Car?
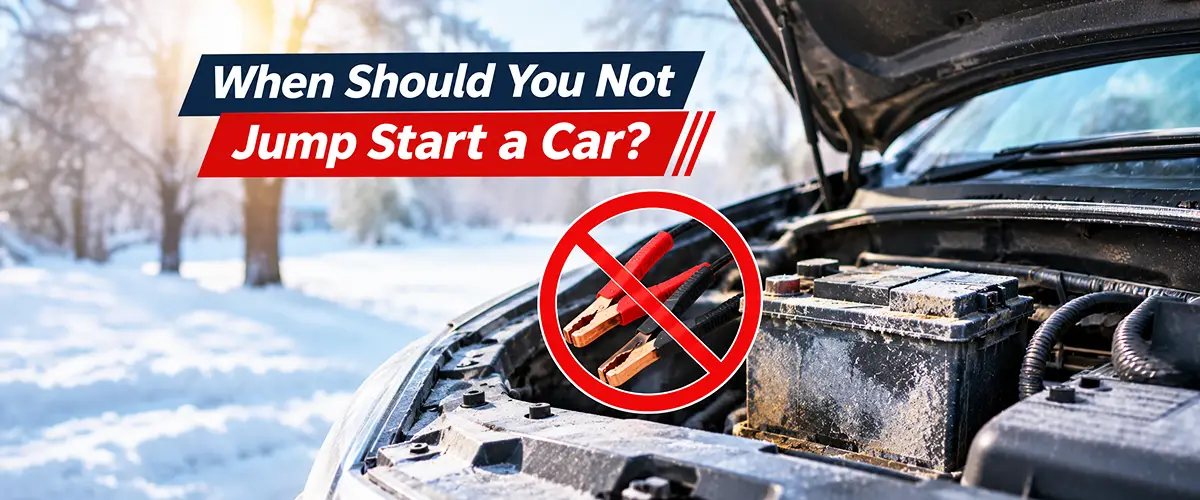
A jump-start is not suitable for every starting problem.
Do not attempt a jump-start if the battery is swollen, cracked, leaking, frozen, unusually hot or producing a strong abnormal odor. These conditions may indicate a dangerous battery fault.
You should also avoid jump-starting when:
- The vehicle manufacturer prohibits the procedure.
- You cannot identify the correct positive and negative connection points.
- The available power source has an incompatible voltage.
- The vehicle is in an unsafe location near moving traffic.
- Jumper cables are damaged or inadequately insulated.
- There is visible damage to the battery or nearby electrical wiring.
Some hybrid and electric vehicles have special low-voltage jump-starting procedures. Never connect jumper cables to high-voltage traction-battery components.
A vehicle that will not crank may have a discharged battery, but it could also have a starter or electrical-system fault. The signs of a bad car battery guide explains those differences.
Step 1: Position Both Vehicles Safely
Park the working vehicle close enough for the jumper cables to reach the disabled vehicle’s approved connection points. The vehicles must not touch each other. Switch off both engines, place automatic transmissions in Park or manual transmissions in neutral, and apply the parking brakes. Turn off headlights, air conditioning, radios and other unnecessary electrical accessories.
Open the bonnets and locate the battery terminals or manufacturer-designated jump-start points. Some vehicles have remote connection terminals even when the battery is installed in the boot or beneath a seat. Do not begin until you have identified the correct connection points on both vehicles.
Step 2: Connect Jumper Cables in the Correct Order
For a typical 12V negative-ground vehicle, follow this connection sequence unless the vehicle manufacturer specifies a different procedure.
<text preserveWhitespace=”true”>Connection 1 — Red clamp: Attach to the positive (+) terminal of the discharged vehicle.
Connection 2 — Red clamp: Attach the other end to the positive (+) terminal of the working donor vehicle.
Connection 3 — Black clamp: Attach to the negative (−) terminal of the working donor vehicle, or its specified negative jump point.
Connection 4 — Black clamp: Attach the final clamp to the disabled vehicle’s manufacturer-approved chassis or engine ground point, away from the discharged battery and fuel system.</text>
| Connection Order | Clamp | Attachment Point |
| 1 | Red (+) | Discharged vehicle positive |
| 2 | Red (+) | Donor vehicle positive |
| 3 | Black (−) | Donor vehicle negative |
| 4 | Black (−) | Disabled vehicle approved ground |
The final ground connection helps keep any connection spark away from the discharged battery, where flammable hydrogen gas may be present.
Never allow clamps to touch each other or contact unintended metal surfaces. Keep cables clear of engine belts, cooling fans and hot components.
Step 3: Start the Donor Vehicle
Once all connections are secure, start the working donor vehicle if its owner’s manual permits this method. Allow it to idle for a few minutes so that the discharged battery receives some electrical assistance.
AAA describes waiting approximately three to five minutes before attempting to start the disabled vehicle, although the exact procedure and timing depend on the vehicles involved.
Do not excessively rev the engine or leave the vehicles connected indefinitely. Some manufacturers have restrictions on using their vehicles as jump-start donors. The starting process depends on the relationship between the battery, alternator and starter motor. Our how a car battery works guide explains those components.
Step 4: Start the Vehicle With the Discharged Battery
After the recommended waiting period, attempt to start the disabled vehicle.
If the engine starts normally, allow it to run while preparing to remove the cables safely.
If it cranks slowly or does not start, stop and check the manufacturer’s permitted attempt duration before trying again.
Avoid continuous or repeated long cranking attempts because they can overheat the starter motor or electrical equipment.
If the engine still does not start after the manufacturer’s recommended attempts, stop the procedure and arrange assistance. A completely failed battery, poor connection or starter problem may require professional diagnosis. Our car battery keeps dying guide covers repeated starting problems separately.
Step 5: Remove Jumper Cables in Reverse Order
After the disabled vehicle has started, remove the cables carefully in the reverse order of connection.
- Remove the black clamp from the previously disabled vehicle’s ground point.
- Remove the black clamp from the donor vehicle’s negative terminal.
- Remove the red clamp from the donor vehicle’s positive terminal.
- Remove the remaining red clamp from the previously disabled vehicle’s positive terminal.
Keep every disconnected clamp away from other clamps, battery terminals and metal surfaces.
Do not reach near moving belts or fans while removing cables. If access is unsafe, stop and seek professional assistance. Once the cables are removed, close the bonnets and check whether the restarted vehicle operates normally.
How to Jump Start a Car With a Portable Jump Starter
A portable jump starter uses its own rechargeable battery to supply starting assistance. It can be useful during roadside emergencies when a second vehicle is unavailable.
The connection procedure varies by device, so the jump starter’s instructions take priority.
For many approved 12V portable boosters, the general process involves switching off the vehicle, connecting the red clamp to the designated positive point and connecting the black clamp to the approved negative or ground point.
The booster may then perform a polarity check before enabling power. Attempt to start the vehicle only as directed by its manual.
| Feature | Jumper Cables | Portable Jump Starter |
| Requires another vehicle | Usually yes | No |
| Requires correct polarity | Yes | Yes |
| Starting assistance | Donor vehicle battery | Integrated booster battery |
| Maintenance | Inspect cables | Keep booster charged and inspected |
| Connection procedure | Vehicle-specific | Vehicle and booster-specific |
Choose a booster approved for the vehicle’s voltage, engine requirements and battery system. Do not bypass reverse-polarity or low-voltage safety controls unless an approved procedure explicitly permits it. Portable jump starters are designed for starting assistance, not routine battery recharging. For restoring the battery’s charge properly, consult how to charge a car battery.
What Should You Do After Jump Starting?
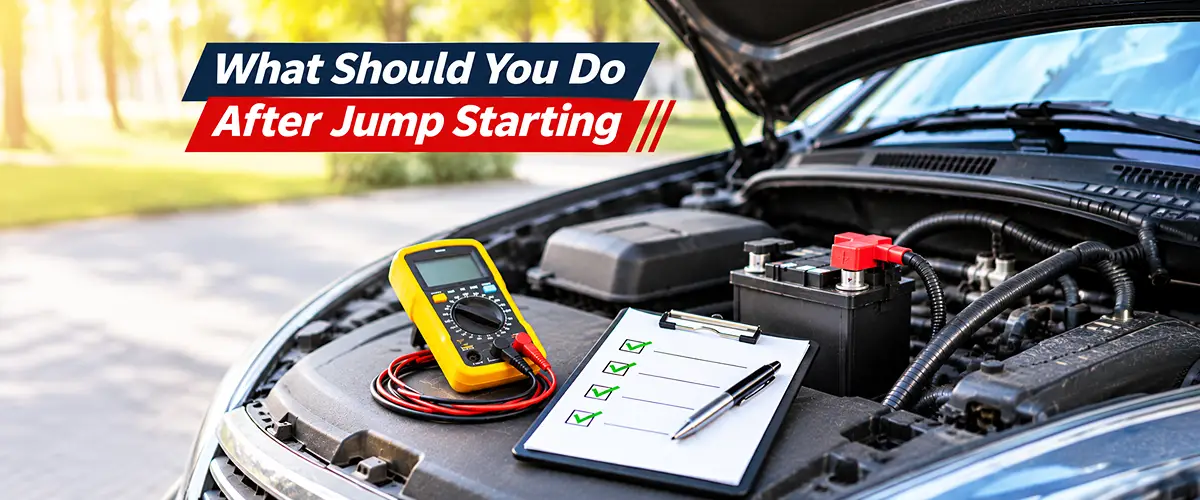
A successful jump-start does not necessarily mean the battery is healthy. In a conventional combustion-engine vehicle, the alternator normally begins supplying electrical power and recharging the battery once the engine runs. However, a short drive may not fully recharge a deeply discharged battery.
Arrange an appropriate battery and charging-system check, especially if the reason for the discharge is unknown.
| Situation After Jump-Starting | Recommended Action |
| Vehicle runs normally | Arrange suitable recharging and monitoring |
| Battery warning light remains on | Seek charging-system diagnosis promptly |
| Engine stops again | Investigate alternator, battery or electrical fault |
| Vehicle repeatedly needs jump-starts | Arrange battery and parasitic-draw testing |
| Battery has physical damage | Stop use and seek professional help |
A rested car battery voltage reading can help indicate charge level, but voltage alone cannot confirm battery health. For a full performance assessment, see how to test a car battery.
Why Won’t Your Car Start Even After a Jump?
A jump-start helps when insufficient battery energy or starting current is the cause of the problem. It cannot repair every starting fault.
If the starter motor fails, battery terminals have poor connections or the vehicle has a different electrical or mechanical problem, a jump-start may not help.
Likewise, a battery with severe internal deterioration may be unable to accept or retain enough charge.
| Symptom | Possible Cause |
| Rapid clicking | Low voltage or poor connection |
| Single click with no crank | Possible starter or solenoid fault |
| Engine cranks but does not fire | Fuel, ignition or other engine issue |
| Starts but later loses power | Possible charging-system fault |
| Starts only with repeated boosting | Battery or electrical-drain problem |
A battery that repeatedly loses charge overnight may be affected by parasitic draw rather than simply needing another jump-start. Professional diagnosis is preferable to repeatedly boosting an unresolved fault.
Common Jump-Starting Mistakes to Avoid
The most dangerous mistakes involve incorrect polarity, damaged batteries and improper connections. Connecting positive to negative can cause severe electrical damage and dangerous sparking. Making the final connection at the discharged battery rather than the approved remote ground point may also increase the risk of ignition near battery gases. Other mistakes include using incompatible voltage systems, letting clamps touch each other, attempting to jump-start a visibly damaged battery and ignoring vehicle-specific instructions.
A common misconception is that driving for a few minutes fully restores a dead battery. In reality, adequate recharge time depends on battery condition and charging-system output. For batteries that frequently discharge, battery state of charge vs state of health helps explain why a battery can be recharged yet still perform poorly.
When Should You Replace the Battery Instead of Jump Starting?
A single discharge caused by headlights left on does not necessarily mean the battery needs replacing. However, repeated jump-starts, persistent slow cranking or failed professional battery tests may indicate deterioration. Conventional car batteries commonly last around three to five years, although temperature, charging conditions and driving patterns affect service life. Read how long car batteries last for age-related considerations.
If replacement is necessary, the new battery must match the vehicle’s approved voltage, chemistry, physical size and starting-current requirements. Our car battery size guide and how to replace a car battery cover those decisions separately.
Conclusion
Knowing how to jump start car safely can help during a roadside battery emergency, but the procedure requires correct equipment, compatible voltage and careful cable connections. For a conventional 12V negative-ground vehicle, connect the positive terminals first, then the donor negative terminal and the disabled vehicle’s approved ground point. Start the donor vehicle as instructed, attempt to start the disabled vehicle and disconnect the cables in reverse order.
A jump-start is a temporary solution, not a battery repair. If the vehicle continues experiencing starting problems, have the battery and charging system tested rather than relying on repeated jump-starts.
Frequently Asked Questions
What Is the Correct Order to Jump Start a Car?
For most conventional 12V negative-ground vehicles, connect red to the dead battery positive, red to donor positive, black to donor negative and the final black clamp to the disabled vehicle’s approved ground point. Follow the owner’s manual.
Do You Connect Red or Black First When Jump Starting?
The red positive cable is generally connected first. The final connection should be made at the manufacturer’s specified ground point away from the discharged battery.
Should Both Cars Be Off When Connecting Jumper Cables?
Yes, for the standard procedure described here. Both vehicles should be switched off before connecting cables, unless their manufacturers specify a different process.
How Long Should You Leave Jumper Cables Connected?
Allow a few minutes of electrical assistance as directed by the vehicle manuals. If the disabled vehicle starts, remove the cables safely. Do not leave the vehicles connected unnecessarily.
Can You Jump Start a Completely Dead Battery?
Sometimes a deeply discharged but otherwise healthy battery can receive enough assistance to start the vehicle. A damaged, frozen or internally failed battery must not be jump-started.
Can You Jump Start a Car With a Portable Battery Booster?
Yes, provided the booster is rated for the vehicle and its connection procedure is followed. Portable boosters do not require another car.
Can Jump Starting Damage a Car?
Incorrect polarity, unsuitable voltage, improper connections or failure to follow vehicle instructions can damage electronics and create safety risks.
Does Jump Starting Fully Charge the Battery?
No. A jump-start supplies temporary starting assistance. Fully restoring charge may require a suitable charger and additional time.
Can You Jump Start an Automatic Car?
Yes, many automatic vehicles can be jump-started using manufacturer-approved electrical methods. This is different from push-starting, which is generally unsuitable for automatic transmissions.
Can You Jump Start a Hybrid or Electric Car?
Some hybrid and electric vehicles allow their low-voltage auxiliary battery to be jump-started using specific procedures. Others restrict jump-starting or acting as donor vehicles. Always follow the exact vehicle manual and never access high-voltage components.